In this article:
- What are the possible links to add to the social networks bar?
- Configure your social networks default links
- Displaying the social networks bar in the predesigned or standard templates
- Customize the background color
- Edit the Social Networks block of a regular or basic template
- Move the Social Networks bar in the template
- Delete the Social Networks bar
What are the possible links to add to the social networks bar?
This block allows you to easily add links to your social media profiles in all your templates or drafts created from pre-designed and basic templates.
Note: The social media bar cannot be added to templates created in HTML Code mode.
Here are the icons that can be added to the social media bar in our templates (they are available in different styles and sizes):

- Send to a friend: A feature that allows your recipients to share the received email with others. The number of emails forwarded to a friend from this form will be recorded in the statistics of your sending.
- Website
- Blog
- X
- Youtube
- Vimeo
- Discord
- Spotify
- Apple Music
- Tik Tok
- Twitch
- Bluesky
- Snapchat
- Mastodon
- Threads
- Audible
- Apple Podcasts
- Tripadvisor
- Flickr
- Contact us: allows you to enter either an email address (which generates a mailto: link) or a valid URL.
To find your social media links, click here.
Configure your social networks default links
Configuring the links to your networks allows you to add them to your templates and mailings more quickly, since they will appear by default in the appropriate fields when you add the Social networks block in your template.
To configure your social networks by default:
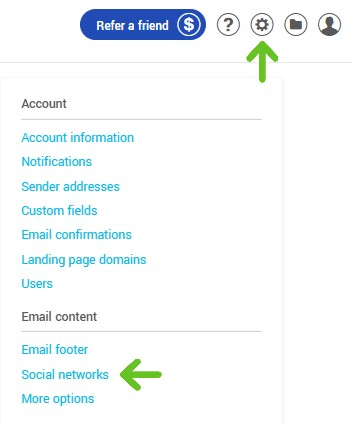
- Go to menu Settings and select Social networks.
- Insert the available links to your social networks in the appropriate fields.
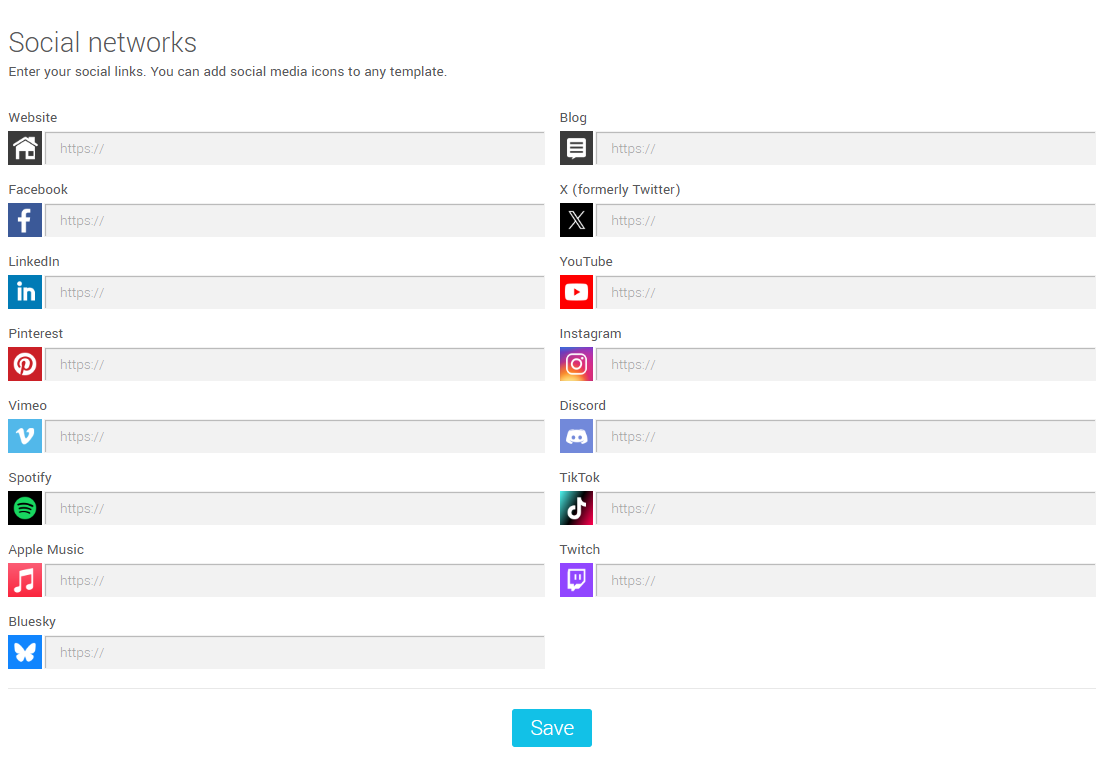
To configure the URL of your website, enter it in the Website field under the Contact Information title (see at the beginning of the Configure the App page). - Click on the Save button to save the changes.
Displaying the social networks toolbar in the templates
To add the social networks bar to your templates:
- Go to the Templates section and choose or create one.
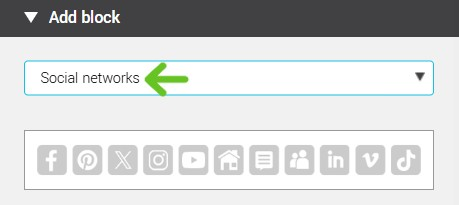
- Once you have reached the email builder, simply Drag and Drop the social networks block from the Add block side panel. You will find it under the Social networks category.
- The Social Networks panel will then appear in the sidebar.
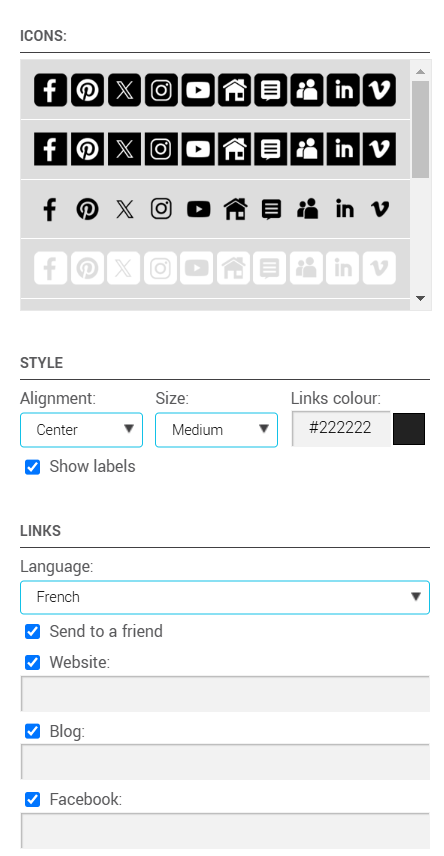
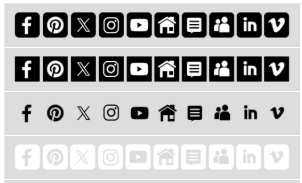
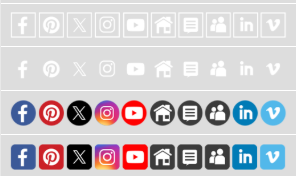
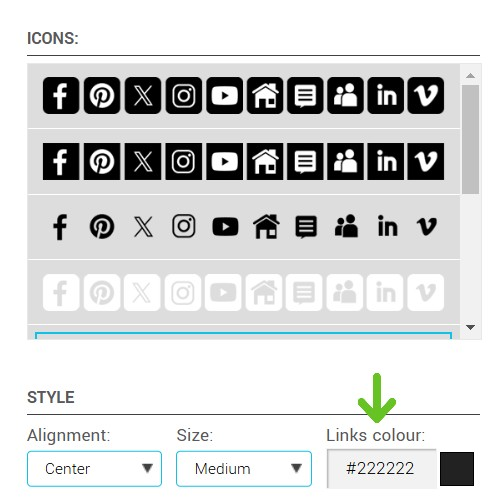
Icons: Select the desired icon style from the options. If you choose white icons, don't forget to apply a dark background color and link color for the Social Networks row.To learn more about selecting a background color for this block, click here.
Here are the available icon choice:
Style: Specify the display styles for your icon block by choosing the block alignment, icon size, and link color.
Language: Specify the display language for the icon text (this is especially important if you have selected, for example, the Send to a friend, Website, or Blog icon) and check the social networks you want to display in your template's block. Verify your links, modify them, and add others if necessary. If you change the language of your social networks, make sure your links lead to the corresponding language versions of your social media pages.
Customize the background color of the Social Networks row and the text of the Send to a friend, Website, and Blog icons.
To customize these colors, here’s how to do it:
- In your template, click on the Social Networks block that you just inserted.
- In the sidebar, you will be able to select the background color from the Block Properties panel.

To modify the background color of the block, uncheck the No color box. Click on the color square to choose a new color, or enter the hex code of the color directly into the field if you know it.
To modify the link text color for the Send to a friend, Website, and Blog icons, click on the color square to the right of the Link Color field to choose a new color, or enter the hex code of the color directly into the field if you know it.
Edit the Social Networks block of a regular or basic template
-
If you want to modify the links to your social networks or its appearance (icon choices, alignment, or icon size), once the block has been added to your template, simply click on the block and make the desired changes in the Social Networks sidebar panel.
- Don't forget to save your template to store the changes.
- To easily reuse your Social Networks block in other templates, you can also save it as a custom block. Click here to learn how.
Move the Social Networks bar in the template.
By default, the Social Networks row will appear at the bottom of the template, but you can move it anywhere within the template using the Move this block option. To do this, hover your mouse over the Social Networks row. Options will appear to the right of the block. Click on the Move this block icon. While holding down your mouse button, drag the row to the appropriate location in the template.

Delete the Social Networks bar
To delete the Social Networks bar, click on the Delete this block button in the top-right corner of your Social Networks block.
